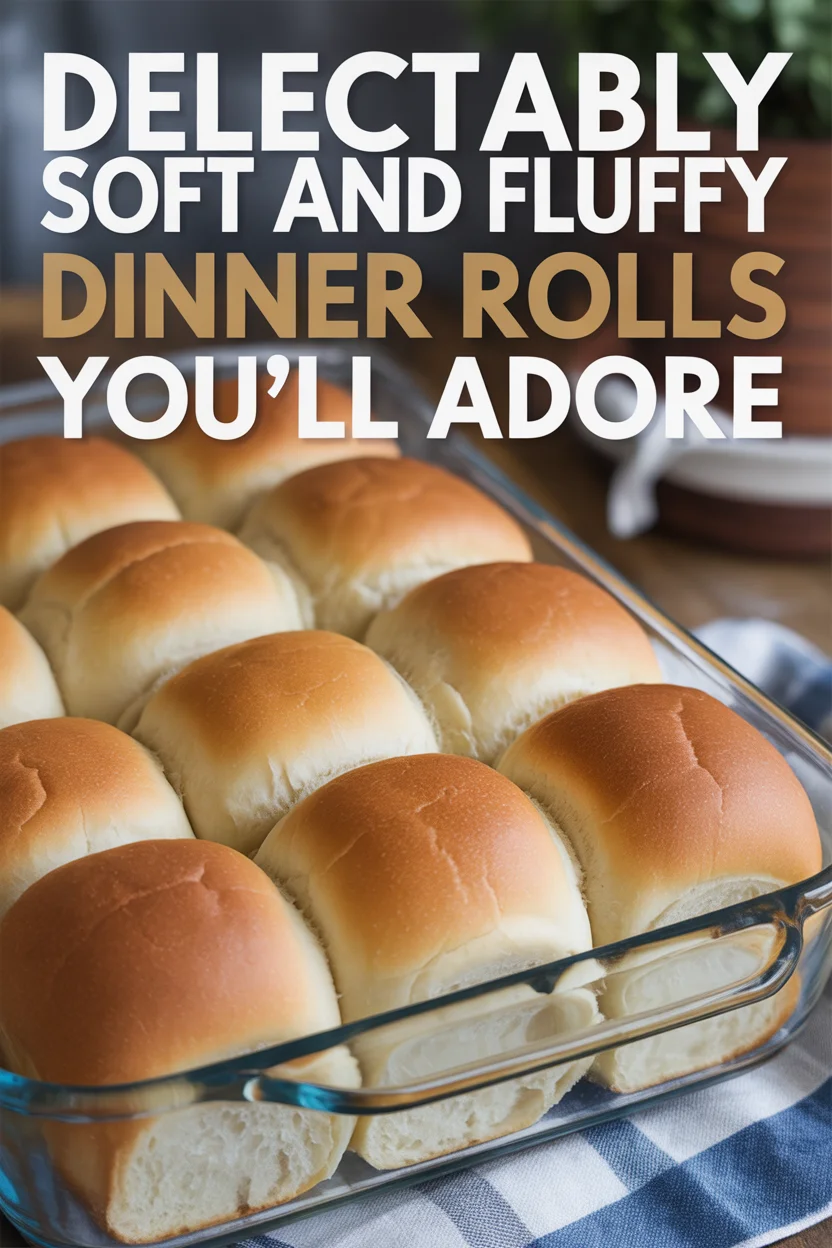
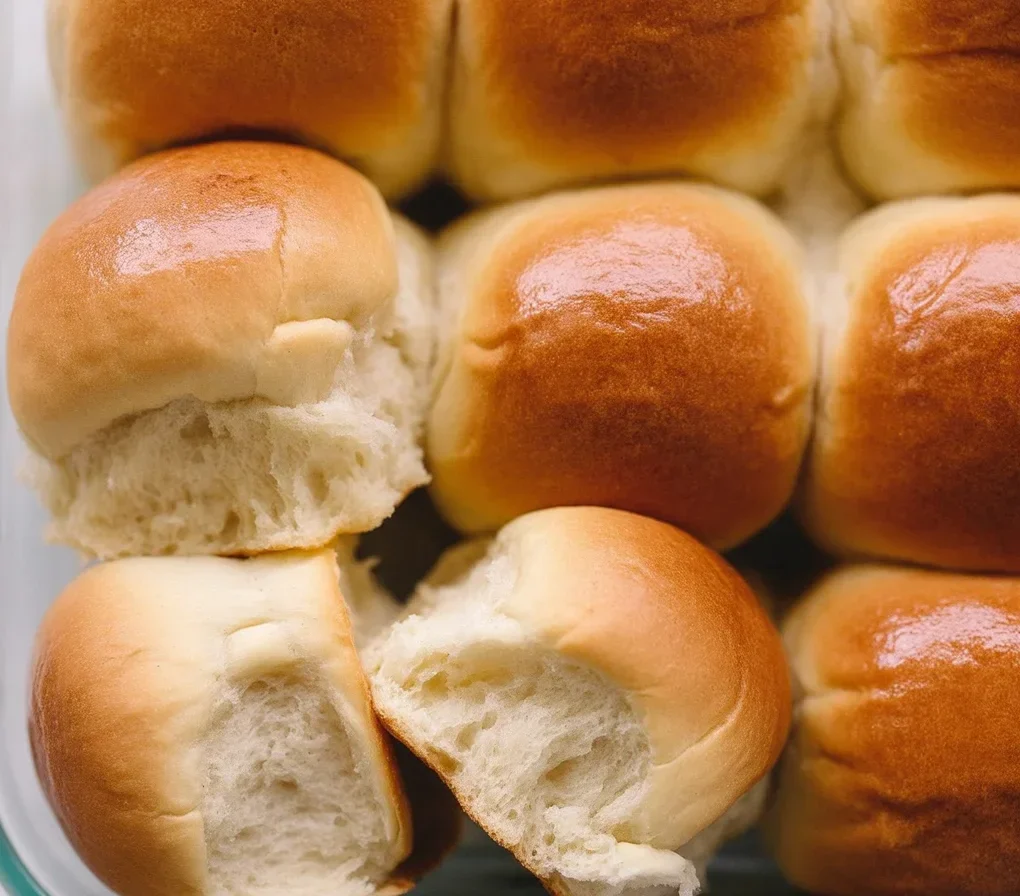
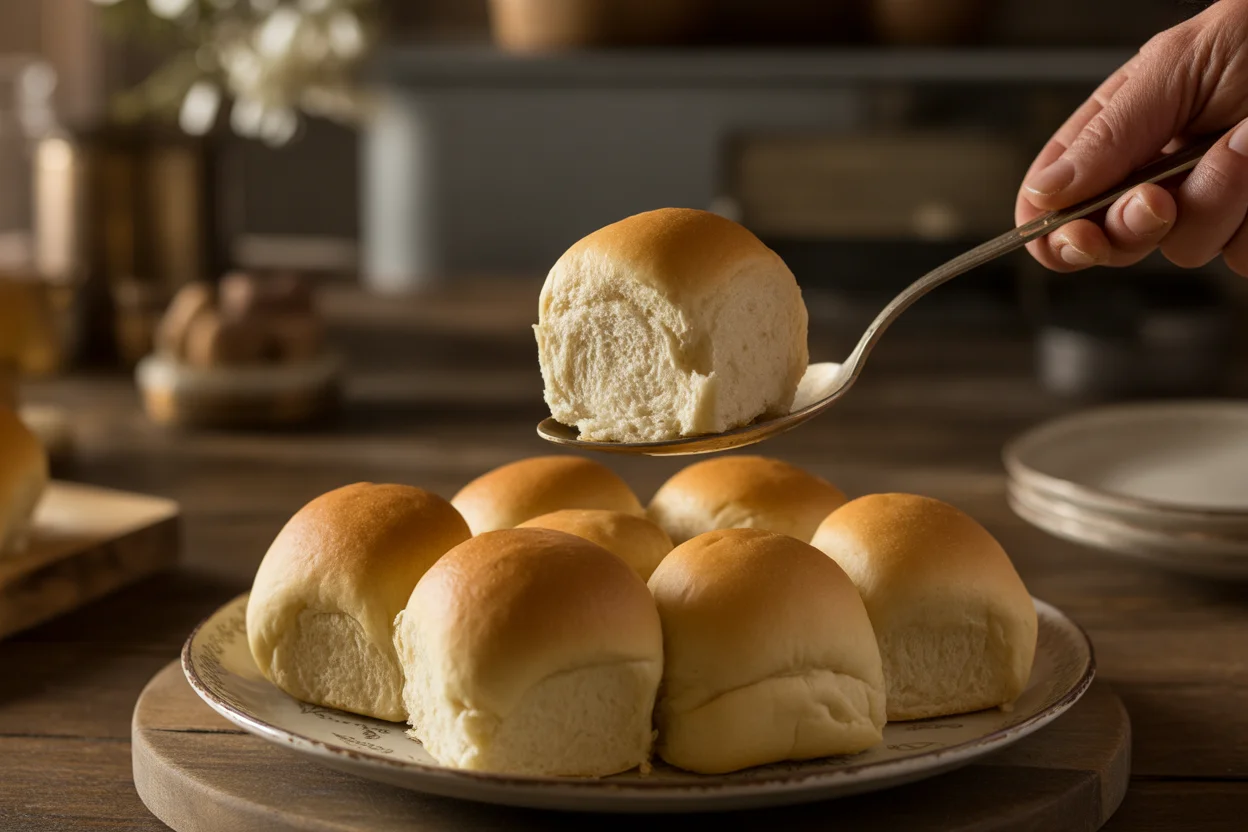
Homemade Fluffy Dinner Rolls
Ingredients
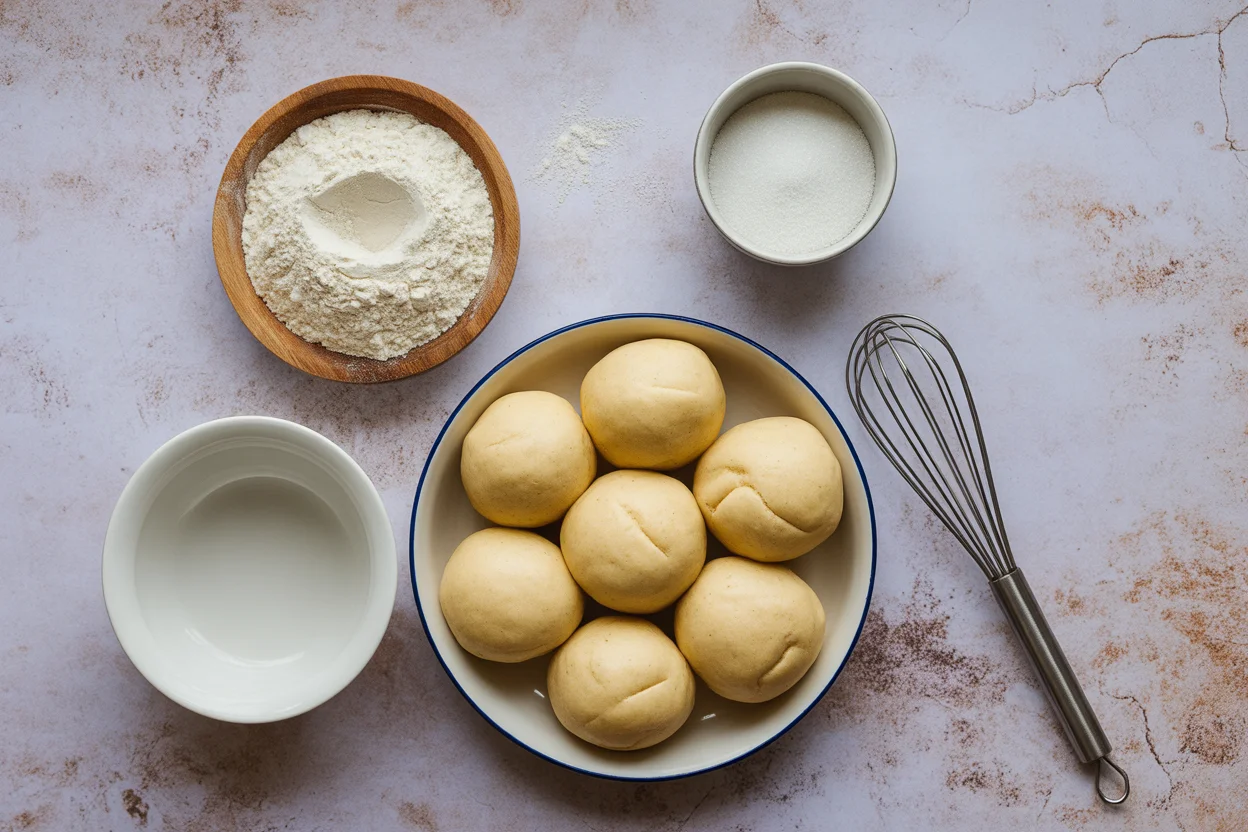
Dough Ingredients
- 4 cups all-purpose flour Use the freshest flour available.
- 1 packet active dry yeast Make sure it's fresh for best results.
- 1 cup milk Warm milk gives a softer texture.
- 1/4 cup sugar Helps in yeast activation.
- 1/4 cup unsalted butter Melted, for brushing on top.
- 1 teaspoon salt Enhances flavor.
- 1 large egg For egg wash to create a glossy finish.
Instructions
Preparation
- In a large mixing bowl, combine warm milk, sugar, and active dry yeast. Let it sit for about 5 minutes until foamy.
- Add in the salt and melted butter, then gradually mix in the flour until a dough forms.
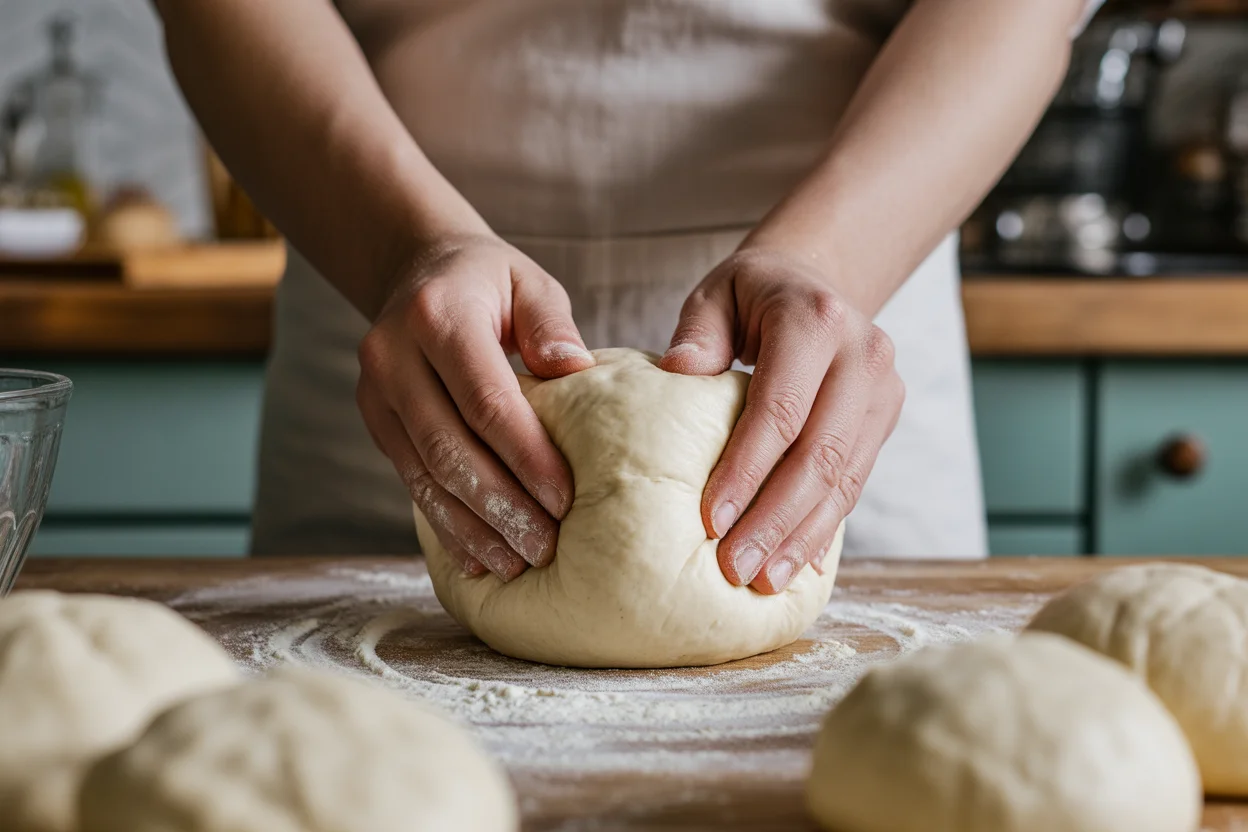
- Knead the dough on a floured surface for about 10 minutes until smooth and elastic.
- Place the dough in a greased bowl, cover, and let it rise in a warm place until doubled in size, about 1 hour.
Shaping and Second Rise
- After the first rise, punch down the dough gently and divide it into 12 equal portions.
- Shape each piece into a tight ball by rolling it in your hands.
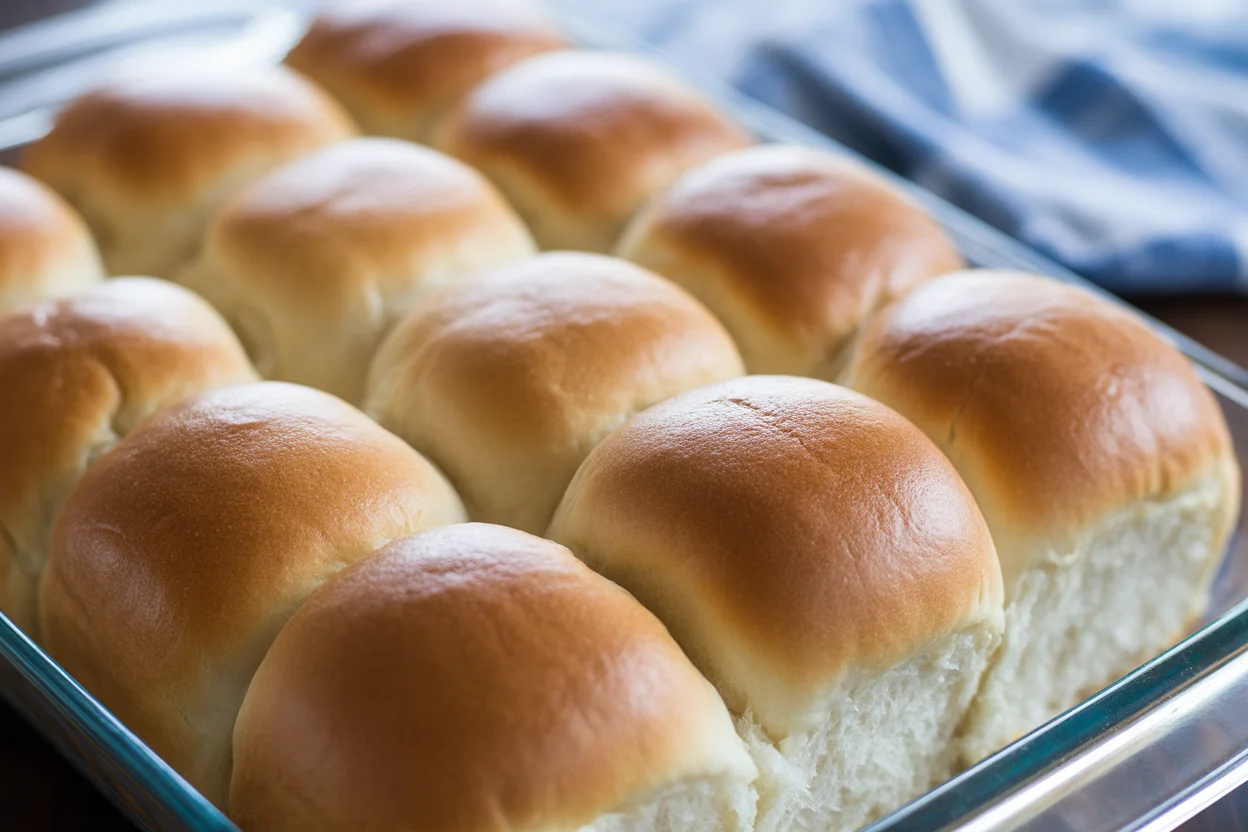
- Place the rolls close together in a greased baking dish and cover them with a clean towel. Let them rise again for another 30 minutes.
Baking
- Preheat your oven to 375°F (190°C).
- Beat the egg and brush it over the rolls for a golden finish before baking.
- Bake in the preheated oven for 15-20 minutes until golden brown.
- Remove from the oven and brush with melted butter immediately for extra flavor and shine.
Notes
Soft and fluffy dinner rolls. Oh man, how many times have you gone for those in a fancy restaurant and just thought, “Dang, why can’t I do this at home?” So, if you’ve ever made rolls that came out hard as hockey pucks or, woof, dry and bland as week-old toast, you’re in the right spot. Honestly, I struggled with these for years and I mean years. But if you want warm, pillowy dinner rolls that steal the show every time, keep reading and I’ll walk you right through my not-so-secret playbook.
Tips for Making Perfect Homemade Dinner Rolls
So here’s the thing. The biggest deal is patience, but not the hair-pulling kind. More like, give the dough its time; don’t bully it. If you’re using yeast for maybe the first or fifth time, it can feel weirdly intimidating. Been there! Always check that your yeast is alive – it’ll foam up in warm water with some sugar. Also, use milk, not water, if you can. Makes a huge difference. Don’t drown your dough with flour, either. Yeah, sticky hands are annoying but the less flour you add, the softer those rolls will be. And a little melted butter, brushed on top right before baking, well, that’s my grandma’s trick. Still works like a charm every single batch.
“I never thought mine would come out like the fancy ones but these rolls? Legit, so airy and soft,” says my next-door neighbor, Jess, who’s not even a big baker. Turns out, it really is easy with a few tweaks.
The Secret to Making the Best Rolls
Let me tell you, the real magic happens during rising. You can’t really skip it unless you want flat, sad-looking bread. The best rolls are those where you let the dough rise twice. I know, I know, it’s a commitment. But trust me here. First rise makes everything fluffy; the second rise (after you’ve shaped them) gives that signature poof. One time, my cousin tried to speed this up, and the rolls tasted more like breadsticks. Good, but just not what you’re probably craving. I also stand by doing a bit of extra kneading with my hands even if I use a mixer. It somehow just feels right, and I swear it’s how you get that cozy tear-apart texture.
How to Shape Dinner Rolls
So, here’s where I used to panic. Shaping dinner rolls sounds all technical (yikes), but it’s low-key easy. Pinch off pieces of dough — a little bigger than a golf ball, but not baseball-sized, okay? Then cup your hand and kinda roll it around gently on your counter until it looks smooth and tight on top. Don’t overthink it. If one is a little lopsided? So what. Home-baked, baby! Place them close in your pan (they almost want to snuggle together), and let them do their thing. Makes for that classic pull-apart shape everybody loves.
3 Success Tips
- Use the freshest yeast you can get (old yeast = sad rolls).
- Let them rise until almost doubled for max fluffiness.
- Don’t skip the cozy butter brush after baking (makes them glisten and taste unreal).
How to Get Perfectly Golden Rolls
If you’ve ever pulled your dinner rolls out of the oven and thought, “Uh, why are these pale?” you’re not alone. Couple tricks. First, always preheat your oven. I know, boring advice, but it counts. Second, eggs! A quick egg wash (just beat up an egg and dab it on before baking) makes the rolls glossy and golden, basically bakery-style. Sometimes I go wild and sprinkle a bit of flaky salt or sesame seeds on top too. That’s more of a flair thing, but hey, why not? Just don’t burn ‘em. Set a timer. I learned that the messiest way possible.
Common Questions
Q: Can I freeze these dinner rolls?
A: Totally. Just let them cool and toss in a zip bag. Reheat in the oven later and they taste fresh as ever.
Q: Do I need bread flour or is all-purpose fine?
A: All-purpose is perfect. Don’t sweat it.
Q: How long can dough sit out to rise?
A: Around 1 to 2 hours, give or take (depends on room temp). Just don’t forget about it!
Q: Can I double this recipe if I’m feeding a crowd?
A: Yup. Go for it, but make sure your oven rack can handle that pan size!
Q: What if I don’t have a mixer?
A: Mix by hand. A bit more effort but very doable (and kinda satisfying, actually).
Let’s Make Your Table Famous
So, here’s the scoop. Fluffy dinner rolls don’t need to be intimidating. Patience and a little practice, and you’ll turn out trays of sweet-smelling, soft gems that could honestly be from a five-star restaurant. Don’t be afraid of the sticky dough, trust the rising, and never, ever skip that butter finish. For more kitchen tips and easy baking science, I like the info at King Arthur Baking. Your friends and family will be obsessed. Roll up those sleeves and let’s make dinner extra-special.