Walnut and Date Cake
Ingredients
Main Ingredients
- 200 g pitted dates, chopped
- 240 ml boiling water
- 1/2 teaspoon baking soda
- 115 g unsalted butter, softened
- 100 g brown sugar
- 2 large eggs
- 1 teaspoon vanilla extract
- 1/2 teaspoon ground cinnamon
- 1/4 teaspoon ground nutmeg
- 190 g all-purpose flour
- 1 teaspoon baking powder
Instructions
Preparation
- Preheat your oven to 350°F (175°C). Grease and flour a cake pan.
- In a bowl, combine the chopped dates and boiling water. Let it sit for about 10 minutes.
- In another mixing bowl, cream the softened butter and brown sugar until light and fluffy.
- Beat in the eggs one at a time, then stir in the vanilla extract.
- Add the baking soda, cinnamon, nutmeg, and mix well.
- Gradually stir in the flour and baking powder until just combined.
- Fold in the date mixture until evenly distributed.
- Pour the batter into the prepared cake pan and smooth the top.
Baking
- Bake for about 35-40 minutes, or until a toothpick inserted in the center comes out clean.
- Allow to cool before serving.
Notes
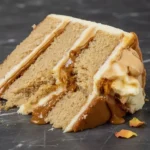
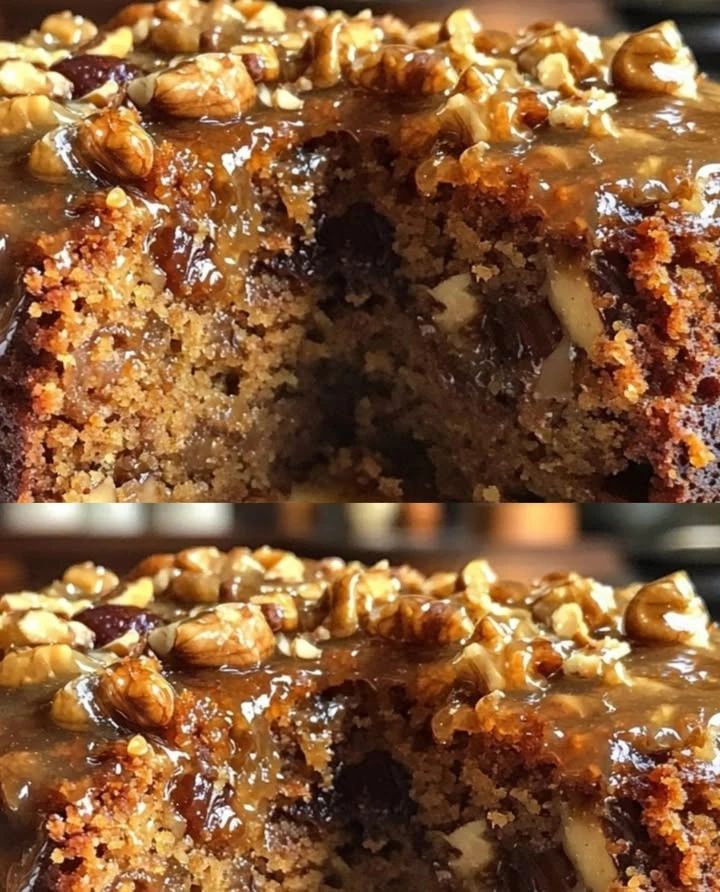
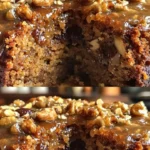
Walnut and Date Cake Recipe: A Delicious Treat
Walnut and Date Cake is a delightful dessert that combines the rich flavors of walnuts and the natural sweetness of dates. This cake not only tastes amazing but also brings a lovely texture to your table.
Why Make This Walnut and Date Cake Recipe
This Walnut and Date Cake is perfect for several reasons:
- It’s easy to make, even for beginners.
- The ingredients are simple and often found in your pantry.
- It offers a unique taste that’s both sweet and nutty.
- It’s great for any occasion, whether it’s a family gathering or a casual coffee break.
How to Make Walnut and Date Cake
Making Walnut and Date Cake is a straightforward process. Here’s how to do it:
Ingredients:
- 200g pitted dates, chopped
- 240ml boiling water
- 1/2 teaspoon baking soda
- 115g unsalted butter, softened
- 100g brown sugar
- 2 large eggs
- 1 teaspoon vanilla extract
- 1/2 teaspoon ground cinnamon
- 1/4 teaspoon ground nutmeg
- 190g all-purpose flour
- 1 teaspoon baking powder
Directions:
- Preheat your oven to 350°F (175°C). Grease and flour a cake pan.
- In a bowl, combine the chopped dates and boiling water. Let it sit for about 10 minutes.
- In another mixing bowl, cream the softened butter and brown sugar until light and fluffy.
- Beat in the eggs one at a time, then stir in the vanilla extract.
- Add the baking soda, cinnamon, nutmeg, and mix well.
- Gradually stir in the flour and baking powder until just combined.
- Fold in the date mixture until evenly distributed.
- Pour the batter into the prepared cake pan and smooth the top.
- Bake for about 35-40 minutes, or until a toothpick inserted in the center comes out clean.
- Allow to cool before serving.
How to Serve Walnut and Date Cake
Serving Walnut and Date Cake is simple:
- Cut the cake into slices.
- Serve plain or with a dusting of powdered sugar.
- Pair with a scoop of vanilla ice cream for extra indulgence.
How to Store Walnut and Date Cake
To keep your Walnut and Date Cake fresh:
- Store it in an airtight container.
- Keep it at room temperature for up to 3 days.
- For longer storage, refrigerate it, where it can last for up to a week.
Tips to Make Walnut and Date Cake
Here are some helpful tips for the perfect Walnut and Date Cake:
- Ensure your butter is softened for easy creaming.
- Don’t overmix the batter to keep the cake tender.
- For added crunch, sprinkle extra chopped walnuts on top before baking.
Variation of Walnut and Date Cake
You can switch things up by:
- Adding chocolate chips for a richer flavor.
- Mixing in dried fruits like apricots or cranberries for a colorful twist.
FAQs About Walnut and Date Cake
Q: Can I use other types of nuts?
A: Yes, feel free to substitute walnuts with pecans or almonds for different flavors.
Q: How do I know when the cake is done?
A: The cake is done when a toothpick inserted into the center comes out clean or with a few crumbs.
Q: Can I freeze Walnut and Date Cake?
A: Absolutely! Wrap it tightly and freeze it for up to 3 months. Just thaw before serving.
Q: Where can I buy the ingredients for this recipe?
A: Buy it here for easy online shopping.